Lighting ratio
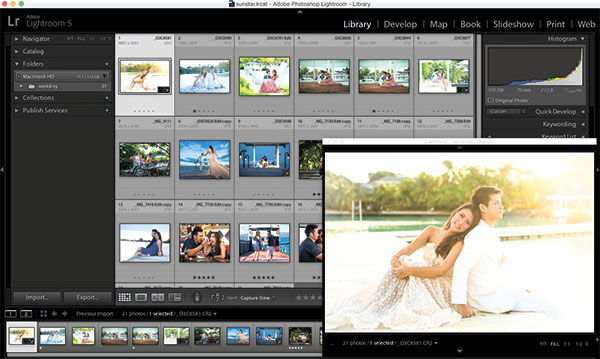
MANY photographers today don’t use an incident meter or a handheld meter. That’s because you can preview your shots and make necessary adjustments accordingly. There’s even a histogram for analysis of the tone values from highlights to shadows. Sometimes, given all these information, you wonder if there’s a need for light meters.
In my case, the light meter is hard coded in my workflow. It gives me sense of control and assurance of consistency. Although I have to admit, there are times that I get overconfident that I base it on my camera’s preview, only to find it during post processing that I could have wanted it differently.
When using a handheld meter, I always imagine a look that I want and decide the lighting ratio from the look that I’m after. If I want it soft and clean, I go with 2:1 or 3:1. If I want it more dramatic or rugged and more “contrasty,” maybe I go with 4:1 or 8:1. It’s easier and faster to set up the lights if you have a starting point.

To understand the lighting ratio, you have to understand f-stops first. We all know that in our lens, the aperture can be set to f1, f1.4, f2, f2.8, f4, f5.6, f8, f11, f16, f22, f32, etc. Every aperture value, as it goes higher, is double the amount of light needed to get an equal amount of light.
Therefore, using a light meter, if the light is measured at f/5.6 and you want it at f/8, you need to double the amount of light in order to get a reading of f/8. Most of the strobe lights have increment indicators labeled in fractions, so it’s easier to relate it with your reading.

Shutter speed is also measured based on the amount of light, but when strobing, it’s normally set to a constant speed below 1/200. The only time you need to work on your shutter speed is when combining strobe and ambient light, which is more advanced.
So when you say 2:1, it means that the main light is 2x brighter than the fill light. If you’re main is measured at f/8, your fill light should be at f/5.6 or one stop lower. This gives you a relatively close lighting from both sides of the face.
At 4:1, your main should read f/8 while your fill should be at f/4 or two stops lower (2×2). At this point the shadow should be a little bit evident in reference to the brighter side of the face. At 8:1, your main should be at f/8 and fill should be in f/2.8, or two stops lower (2x2x2). At this ratio, the other side of the face should be quite dark and the overall image should be contrasty.
It’s very easy to get lost in making sure that you’re getting the right lighting, especially when there are a lot of things to manage in the set. Having control of the lights using a light meter lessens the number of variables and gives a greater chance of getting it right.
Keep on shooting, everyone!
(photomanio.sunstar@gmail.com / www.grp.ph)


