Food photography and styling
EVERY time I conduct a basic photography workshop, I always try to open the eyes of students about the different genres available when trying to learn photography. The most typical interests are portrait and landscape. Today I’ll talk about my experience in shooting food and working with a stylist.
If there’s a wardrobe stylist for fashion photography, there’s also a food stylist for food photography. Be careful when tasting food prepared by the food stylist, not all of them are edible. Remember that in photography, not everything you see is what you capture. The entire concept of food styling is to prepare the food fit for photography.
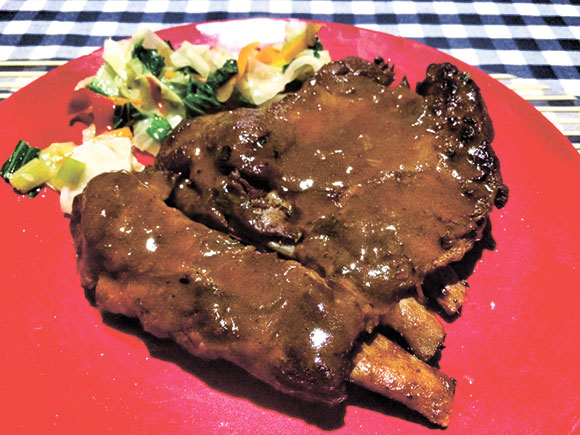
When working with food stylists, the work of the photographer is more focused on presenting the dish using lighting and composition. The stylist prepares the food in terms of bringing out the texture, color, form and shine. They make sure that all the ingredients used for presentation must match the actual plating served to the customers.
In the set of a food stylist, you would typically find glycerin, food coloring, brush, picking tools, scissors, knives, olive oil, and more. This is serious work. A stylist must understand how culinary works and must find ways to keep the appearance of the food for an extended time for the photographer to work on it.
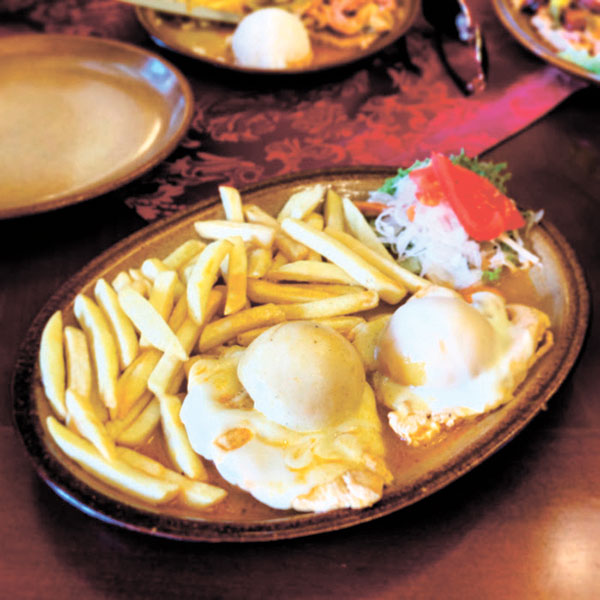
Due to the challenge of keeping the appearance of the food, a stylist would resort to visual representation of the actual ingredient. In the case of ice cream where it starts to melt instantly, mashed potato is used as a replacement to give the photographer time to take the right shot.

When shooting food, the basics are soft light, depth of field, and backlight. Although there are a number of ways to light food, I will discuss the most common approaches.
To mimic soft light, a bigger light source relative to the subject will do the trick. You can do it by using a large softbox or bounce-light umbrella.
It is possible to use only one light and just use reflectors to bounce the light back. A simple white cardboard or aluminum foil will do. I normally use two lights: one coming from the back and one angled in front of the dish. I add reflectors on areas where I think it needs more light.
When I’m shooting food, I find it a must to use a tripod. The purpose is not to shoot with a slower shutter speed but to keep the framing as you add more elements and adjust the angles of your reflectors. It is difficult to compare previous and current frames if your camera is moving in every shot.
There’s more to learn about food photography. I’ll try to break down some lighting techniques in future articles. Just like in any genre, a good understanding of what you’re shooting makes more sense for you to do your job better.
Keep on shooting, everyone!
(photomanio.sunstar@gmail.com / www.grp.ph)


