Monitor Calibration
 Albert Pedrosa
Photo Mania
A few weeks ago, I was reading a thread about a photographer crowdsourcing on how to match his prints against his monitor. He positioned his photo side by side his monitor to show just how much injustice there is to the imagery. He also said that it looks perfect in the monitor only to find out it looked terrible in print and to other monitors.
This is a typical scenario that many photographers experience. This is a situation that you cannot be saved by crossing your fingers, hoping it won’t happen when doing commissioned shoots. Fortunately, there’s no need for rocket science to figure this out. Just a plain understanding and a particular device called monitor calibrator.
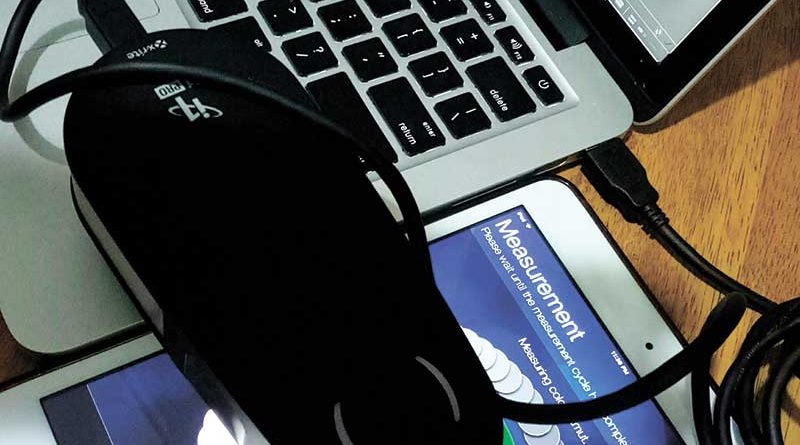
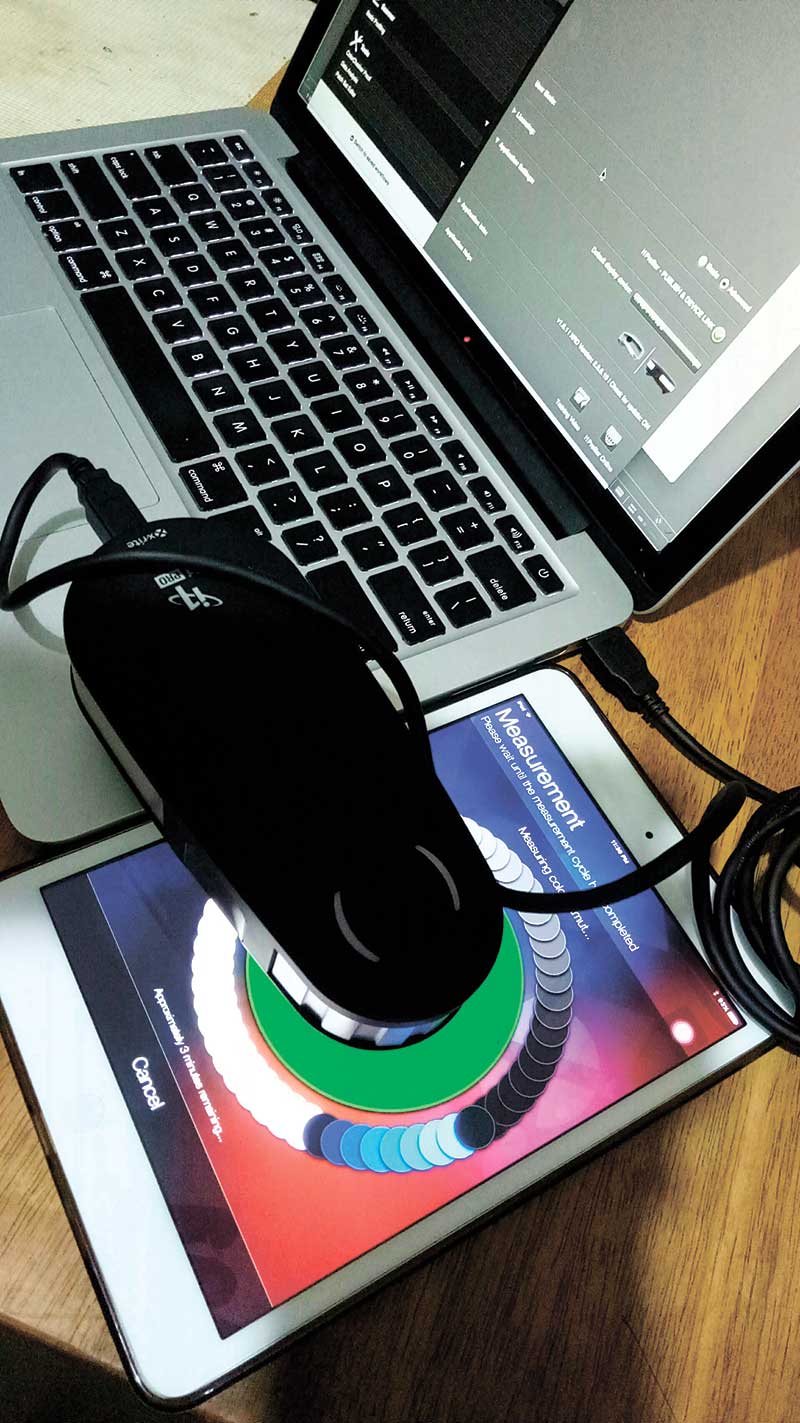
Given the different monitor calibrators available in the market today, there’s more than one procedure to follow. What’s important, though, are the processes involved. You need to understand it more than following the step by step procedure.
Here are part of the processes that you need to understand:
Clean your monitor
Monitors have a big flat surface that catches a lot of dust. Very often, monitors are touched with fingers that leave a thin layer of oil. All the dirt that are left in your monitor can greatly affect the quality of calibration.
Brightness and Contrast
There’s a recommended brightness and contrast that colors are best viewed from a monitor. Normally it’s 120cd/m2 while contrast is at 2.2 gamma. Your monitor calibrator will read it for you so all you have to do is adjust the settings in your monitor until it gives you the right value.
White Balance
This is the part where you will try to adjust the three colors of your monitor, red green and blue. Balancing the three should give you a good gray without any tints. Although it can be adjusted as part of the calibration, it’s much better to set it properly before the actual calibration.
ICC Profile
A report in a form of ICC profile is generated to represent the strength and weakness in terms of color of a particular device. All adjustments that need to be done will be listed in this file where it is loaded in the video card upon boot up of your OS.
Monitor Controls
After calibration, it is important that the monitor controls are not adjusted. The optimum settings are already set during the calibration and if you are doubting it, perform the calibration again rather than adjusting it yourself.
Viewing Angles
IPS monitors are very affordable this time around. It offers a wider angle of view without affecting the color. If your monitor has a narrow viewing angle, make sure to position your angle parallel to the screen.
Maintenance
Calibration needs to be done periodically. For heavy users, once or twice a month is necessary while a hobbyist photographer can do it quarterly. Wear and tear of electronic parts will change the color and quality of your screen.
Printing calibration is another part of the entire process to ensure that your prints come out right and matched with your monitor. Keep on shooting, everyone!
photomania.sunstar@gmail.com
www.grp.ph