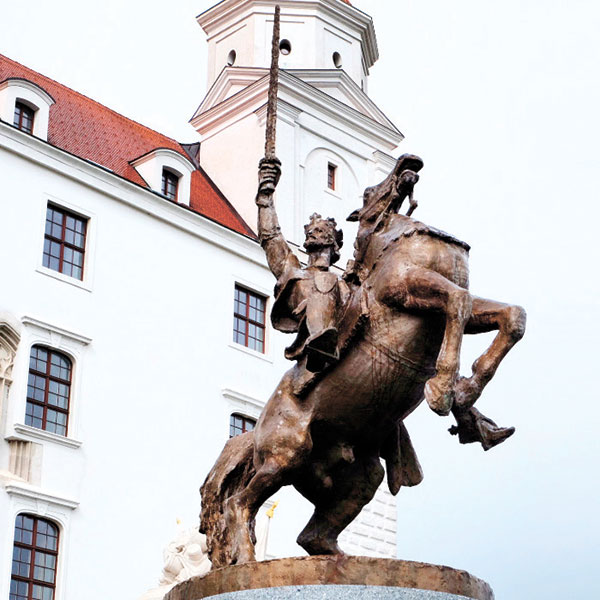
Lights and shadows
WHEN I started shooting back during my high school years, I was always intrigued by the chemical wizardry one possesses to extract through chemicals and release the image to the surface of photo paper. I like the idea of doing something where only a few know about.
In my first work as a designer in an electronic prepress service bureau, we were trained to work on color correction, and one thing that stuck to my mind was the term used to identify the dark areas of an image. They call it shadows. It doesn’t refer to the shadows that follow you anywhere. Instead, it refers to the dark areas in general.

Shapes are defined by shadows. Contours and textures are elements of shapes. When you try to dissect an image, it is composed of light and shadows. It comes in different shades that is either inclined towards the lighter tone or the darker tones of shadows. The amount of mid tones dictates the degree of contrast.
Mid tones bridge the shadows and the highlights. More mid tones mean a flatter image. If you compress those tones towards shadows and highlights, you’ll get more contrast. Therefore, when you’re lighting your subject, deciding how much highlights, midtones and shadows will allow you to control the results.
When I’m using strobe outdoors, my objective is not to get the right exposure. I can always get the right exposure by working on my camera settings. My objective is to put direction to the light. By controlling the direction, you can decide how much shadows you want to see in your subject. Remember that shadows describe the shape.
Placing the light to the sides of the subject emphasizes a taller nose. An overhead lighting will deep set the eyes and bring more cheekbones, while dimming lights in the neck part prevents double chins. These are the reasons why I can’t remember a time I placed my flash on top of my camera. Moving your light source to a certain direction even for just a few inches will definitely change the mood of your photos.
What makes photography more challenging is that our camera doesn’t see the light the way our eyes do. We can see more shades especially towards the edge of shadows and highlights. The camera, on the other hand, tends to miss the shades and sees them as flat white light or solid black minus the details. The more you shoot the more you’ll learn to see the light the way our camera does.
Every day we see how light and shadow are positioned depending on where the lights are coming from. Lights would be bounced from different surfaces as they illuminate the entire scene. It’s a wonderful experience noticing it every second of our existence. It’s like looking at the world in a whole new way.
photomania.sunstar@gmail.com / www.grp.ph


